


 Eng
Eng 
 中文简体
中文简体
 Home / News / Industry News / The Complete Guide to Truck and Trailer Brake Shoes: Types, Wear Signs, and Replacement Tips
 The Complete Guide to Truck and Trailer Brake Shoes: Types, Wear Signs, and Replacement Tips
 2026.05.26
 Industry News
Content
- 1 What Is a Truck and Trailer Brake Shoe and How Does It Work?
- 2 Types of Truck and Trailer Brake Shoes You Need to Know
- 3 Brake Shoe Friction Lining Materials: What the Codes Actually Mean
- 4 How to Read Brake Shoe Wear and Know When to Replace
- 5 Step-by-Step Guide to Replacing Truck and Trailer Brake Shoes
- 6
- 7 Brake Shoe Adjustment: Manual vs. Automatic Slack Adjusters
- 8 Choosing the Right Brake Shoe Brand and Specification for Your Fleet
- 9 Preventive Maintenance Schedule for Truck and Trailer Brake Shoes
- 10 Common Mistakes to Avoid When Working on Heavy-Duty Brake Shoes
What Is a Truck and Trailer Brake Shoe and How Does It Work?
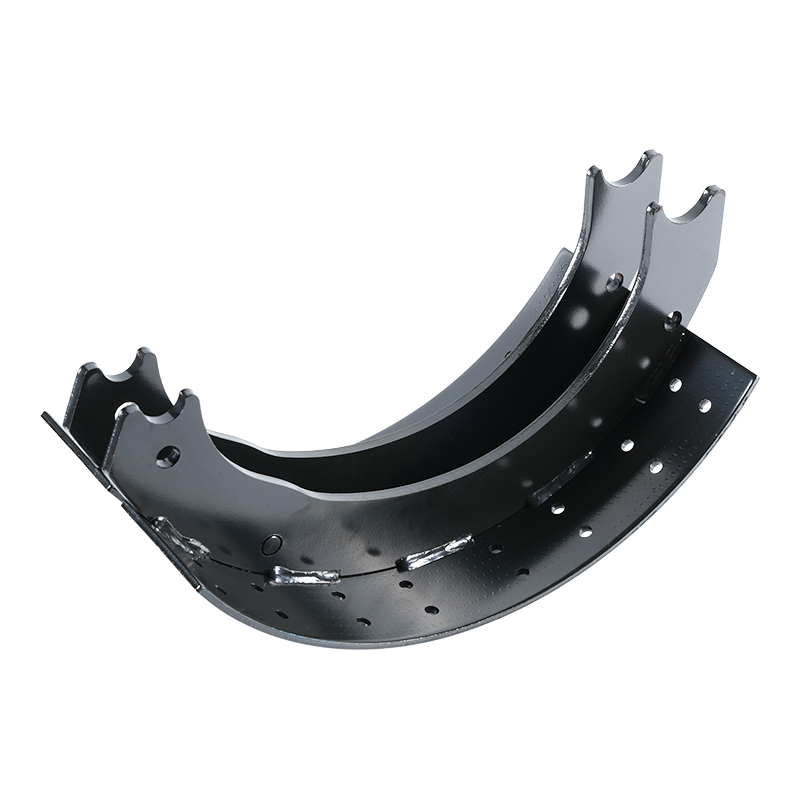
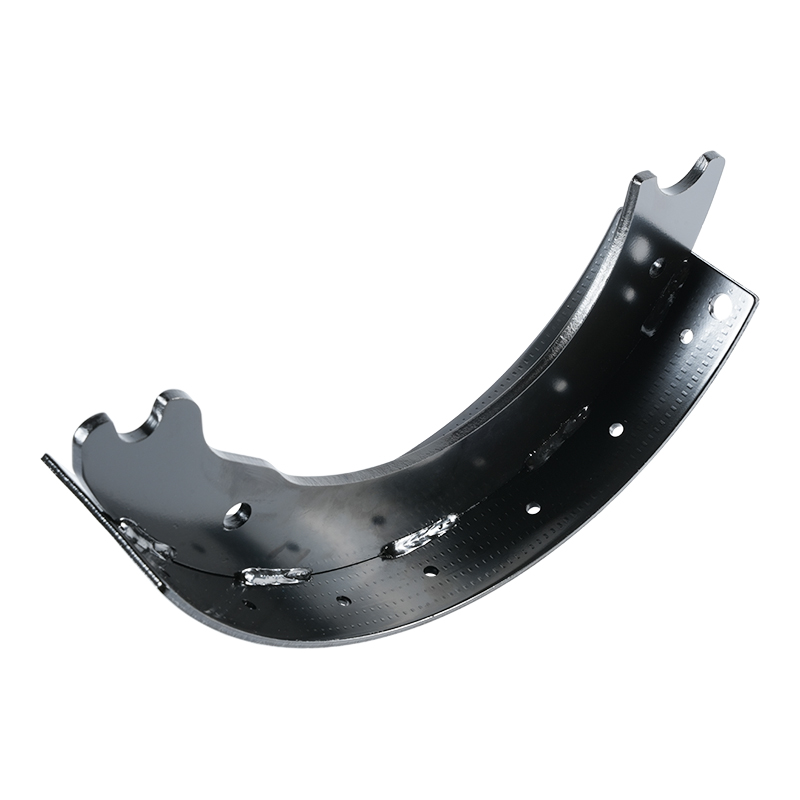
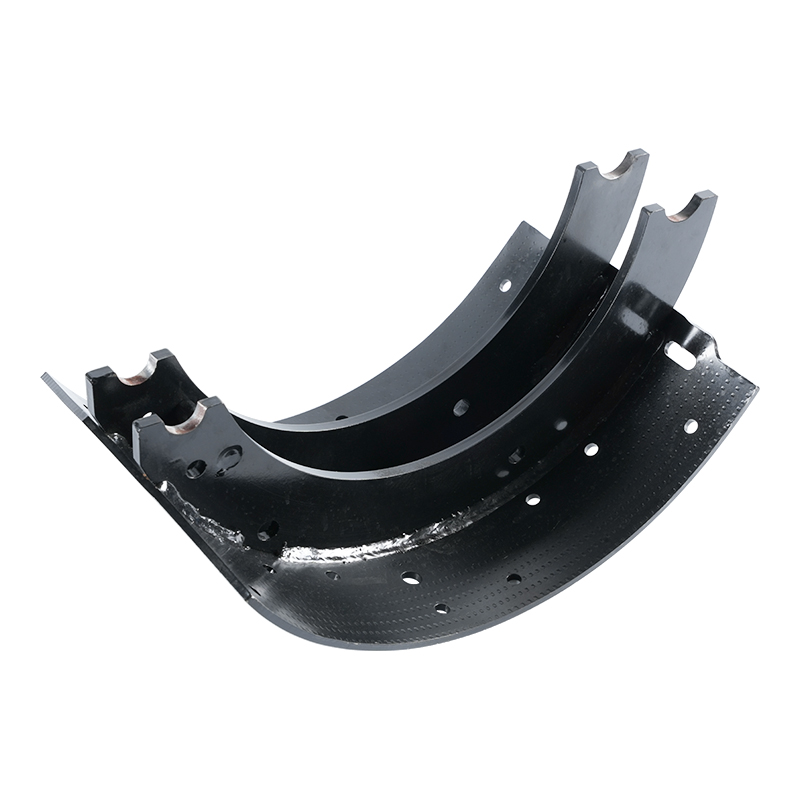
A truck and trailer brake shoe is a curved metal component lined with friction material that presses against the inside of a brake drum to slow or stop a heavy vehicle. In commercial trucking, the drum brake system — which uses brake shoes — remains the dominant braking technology on rear axles, trailer axles, and steer axles of Class 6, 7, and 8 trucks, semi-trailers, flatbeds, and tanker trailers across North America and most of the world. Unlike disc brakes that squeeze a rotor from the outside, drum brakes work by expanding the brake shoes outward against the drum's inner surface, creating the friction needed to decelerate the vehicle.
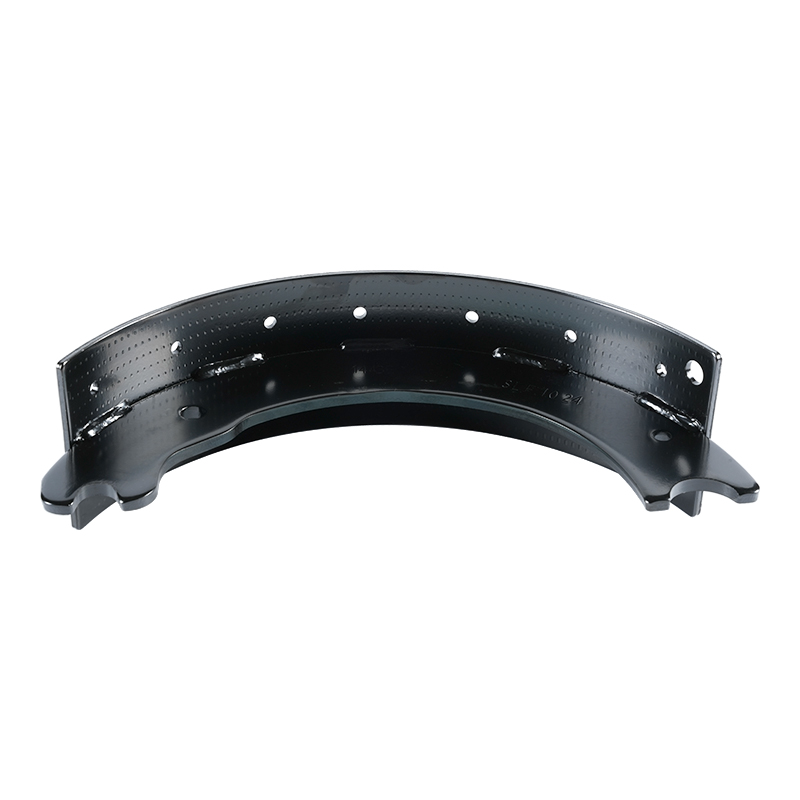
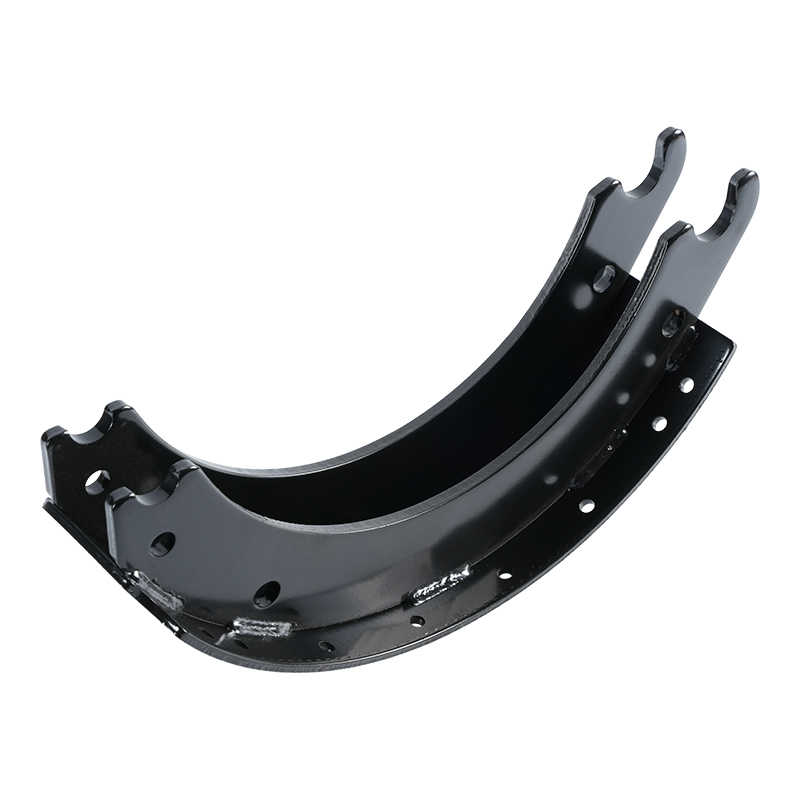
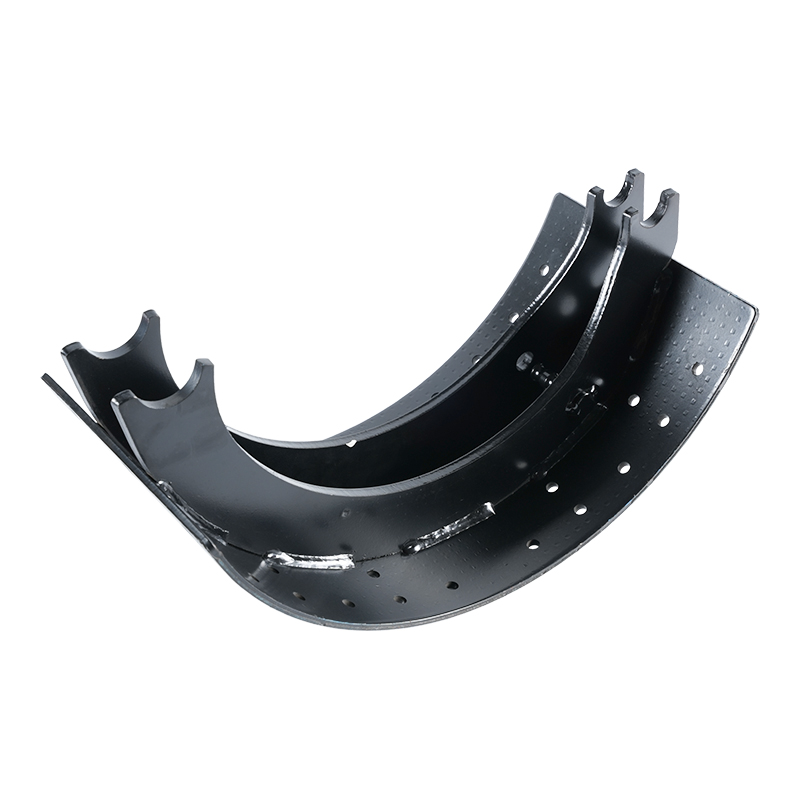
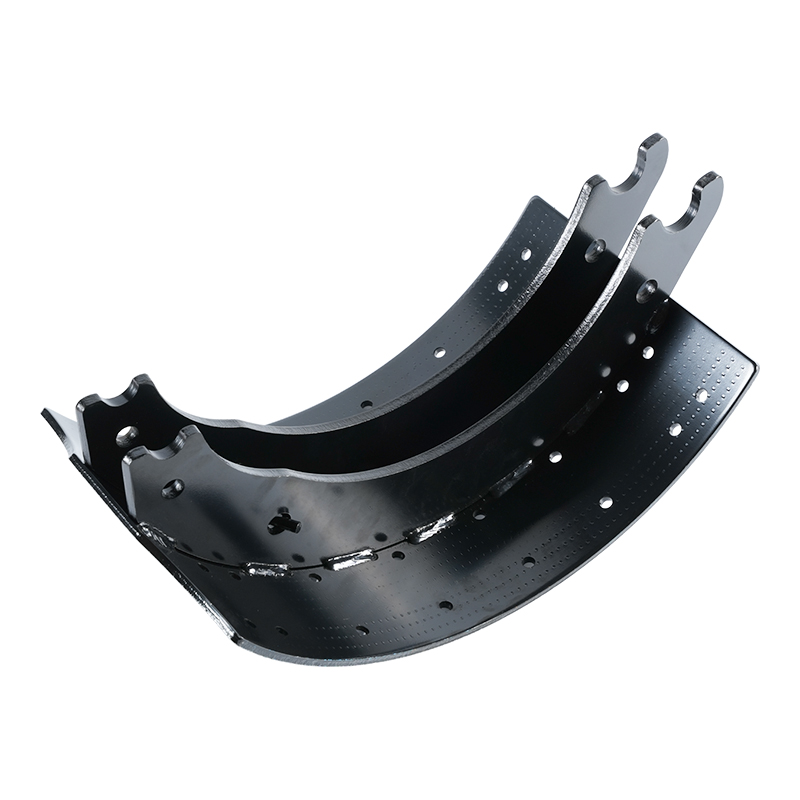
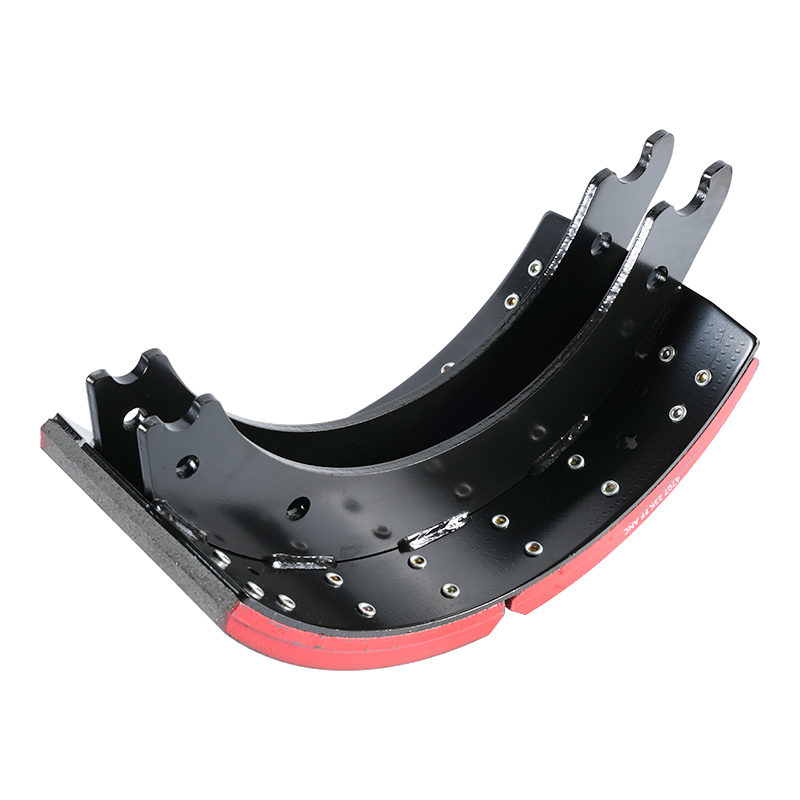
The brake shoe itself consists of two main parts: the steel shoe table (also called the web or platform) and the friction lining bonded or riveted to its curved face. When the driver applies air pressure through the brake system, a cam or wheel cylinder forces the brake shoes apart and into contact with the spinning drum. The friction between the lining and drum converts the vehicle's kinetic energy into heat, slowing rotation and bringing the truck or trailer to a stop. Because commercial vehicles can weigh up to 80,000 pounds fully loaded, the braking forces involved are enormous — which is why brake shoe specification, condition, and adjustment matter so much for both safety and compliance.
Types of Truck and Trailer Brake Shoes You Need to Know
Not all heavy-duty brake shoes are built the same. Different axle positions, vehicle types, and brake configurations call for specific shoe designs. Understanding the main types helps fleet managers, owner-operators, and mechanics order the correct replacement parts the first time.
S-Cam Brake Shoes
S-cam brake shoes are by far the most common type used on commercial trucks and trailers in North America. The name comes from the S-shaped camshaft that rotates when the brake chamber pushes the slack adjuster, spreading the two brake shoes apart against the drum. S-cam systems use two shoes per wheel end — a primary (leading) shoe and a secondary (trailing) shoe — which are held in place by return springs and anchor pins on the brake spider. Standard S-cam brake shoe sizes for heavy trucks include 16.5" × 5", 16.5" × 7", and 15" × 4" configurations, with the first number representing the drum diameter and the second the lining width. Getting the right size and lining position (primary vs. secondary) is critical because they wear differently and are not interchangeable.
Wedge Brake Shoes
Wedge brake systems use a brake chamber that pushes a wedge directly between two brake shoe actuating rollers, spreading the shoes outward. Wedge brakes are self-energizing and can apply greater braking force with less air pressure, which makes them efficient — but they are also more sensitive to adjustment and require more precise maintenance than S-cam systems. Wedge brake shoes are found on some vocational trucks, military vehicles, and older medium-duty applications. They are less common on modern long-haul trailers but still require replacement on a service schedule similar to S-cam shoes.
Trailer Brake Shoes
Trailer brake shoes are designed specifically for the axle configurations found on semi-trailers, flatbeds, refrigerated trailers, and tankers. Most trailers use standard S-cam systems with 16.5" × 7" brake shoes on three-axle configurations or 15" × 4" shoes on lighter-duty applications. Trailer brake shoes typically experience more even wear than truck drive axle shoes because trailer braking load is distributed across multiple axles without the complication of differential engine braking effects. However, trailers are often neglected in fleet maintenance schedules compared to power units, making trailer brake shoe inspection a critical safety priority during annual DOT inspections and roadside checks.
Brake Shoe Friction Lining Materials: What the Codes Actually Mean
The friction lining bonded or riveted to the brake shoe web is what actually creates braking force. Lining material selection has a direct impact on stopping distance, heat fade resistance, lining wear rate, and drum wear. Most brake shoe linings used on commercial trucks and trailers are rated using the Edge Code system developed by the Society of Automotive Engineers (SAE), which identifies friction coefficient characteristics under normal and hot conditions.
An Edge Code such as "FF" tells you that the lining has a normal (cold) friction coefficient in the "F" range (0.35–0.45) and a hot friction coefficient also in the "F" range — meaning it maintains consistent performance under heat. The most common Edge Codes for heavy-duty truck and trailer brake shoes include:
| Edge Code | Normal Friction | Hot Friction | Typical Application |
| EE | 0.25–0.35 | 0.25–0.35 | Low-friction, drum-friendly applications |
| EF | 0.25–0.35 | 0.35–0.45 | Highway trailers, moderate duty |
| FF | 0.35–0.45 | 0.35–0.45 | Standard long-haul trucks and trailers |
| GG | 0.45–0.55 | 0.45–0.55 | Severe duty, vocational, mountain routes |
| GH | 0.45–0.55 | 0.55–0.65 | Construction, mining, extreme grades |
Beyond the Edge Code, lining materials fall into several broad categories. Non-asbestos organic (NAO) linings are the standard for most modern truck and trailer brake shoes, offering good performance across a wide temperature range without the health hazards of legacy asbestos linings. Semi-metallic linings contain steel fibers for better heat dissipation and are preferred for severe-duty applications like refuse trucks, dump trucks, and logging trucks. Low-metallic linings fall between these two, offering moderate heat resistance with less drum wear than full semi-metallic compounds.
How to Read Brake Shoe Wear and Know When to Replace
Federal Motor Carrier Safety Administration (FMCSA) regulations under 49 CFR Part 393 specify minimum brake lining thickness requirements for commercial vehicles, and out-of-service criteria under the Commercial Vehicle Safety Alliance (CVSA) are strictly enforced during roadside inspections. Understanding these thresholds — and how to measure lining thickness correctly — is fundamental knowledge for any fleet maintenance operation.
FMCSA Minimum Lining Thickness Requirements
For non-steering axles on trucks and all trailer axles, the minimum allowable brake lining thickness before the vehicle is placed out of service is 1/4 inch (6.4 mm) for drum brake linings with a rivet or bolt attachment, or 1/16 inch (1.6 mm) above the top of the rivet head for riveted linings. On steering axles, the threshold is more stringent: 1/4 inch (6.4 mm) for shoe-and-lining or 1/4 inch measured from the shoe table for bonded linings. These are out-of-service thresholds — responsible fleet maintenance programs replace brake shoes well before these minimums are reached, typically at 3/8" to 1/2" remaining lining thickness, to avoid emergency replacements and maintain consistent braking performance.
Signs of Abnormal Brake Shoe Wear
Uneven or accelerated brake shoe wear is a symptom of an underlying problem, not just normal deterioration. Identifying wear patterns during brake inspection can diagnose mechanical issues before they cause brake failure:
- Tapered lining wear (thicker at one end): Usually caused by a misaligned anchor pin, bent shoe web, or out-of-round drum. The shoe is not making full contact across its length, concentrating wear at one edge.
- Cracked or glazed lining surface: Glazing occurs when the lining overheats and the resin binders in the friction material melt and resolidify, creating a hard, low-friction surface. This dramatically reduces braking effectiveness and is usually caused by brake drag, stuck chambers, or over-retarding on steep grades without adequate cooling.
- Oil or grease contamination: Leaking wheel seals can deposit oil on the brake lining, reducing friction coefficient drastically and causing brake fade or complete brake failure. Contaminated linings cannot be cleaned and must be replaced along with the wheel seal causing the leak.
- Primary shoe wearing faster than secondary: In S-cam systems, the primary (leading) shoe typically wears faster than the secondary (trailing) shoe due to the self-energizing effect. If the difference is extreme, it may indicate improper shoe installation, incorrect cam rotation, or a brake balance issue.
- Lining separation from shoe table: Delamination of the friction lining from the steel shoe table is a dangerous failure mode. It can be caused by extreme heat cycles, corrosion of the bonding interface, or improper bonding during manufacturing. Any shoe showing lining separation must be removed from service immediately.
Step-by-Step Guide to Replacing Truck and Trailer Brake Shoes
Brake shoe replacement on commercial vehicles follows a specific sequence that ensures correct reassembly, proper adjustment, and safe return to service. While experienced brake technicians will adapt this process to specific axle configurations, the core steps remain consistent across most S-cam drum brake systems found on heavy trucks and trailers.
Tools and Safety Equipment Required
- Heavy-duty floor jack rated for the axle weight, with appropriate jack stands
- Brake spring pliers and brake spring tool (do not attempt to remove return springs with regular pliers — the spring tension is dangerous)
- Anchor pin remover or appropriate punch and hammer
- Brake drum puller or slide hammer if the drum is stuck
- Torque wrench calibrated for wheel nut specifications
- Brake lining thickness gauge
- Dust mask or respirator rated for brake dust (even non-asbestos linings produce harmful fine particles)
- Brake cleaner spray and clean shop rags
The Replacement Process
- Cage the brake chamber: Before lifting the vehicle or beginning any brake work, always cage the spring brake chamber using the proper caging bolt to release spring brake tension. Failure to do this can result in the spring brake releasing suddenly during disassembly, causing serious injury.
- Remove the wheel and drum: After safely supporting the axle, remove the wheel and tire assembly. Back off the slack adjuster to release shoe-to-drum contact, then remove the drum. Inspect the drum for scoring, heat cracks, and diameter — a drum worn beyond its maximum diameter must be replaced, not just turned.
- Remove return springs and anchor pins: Use brake spring pliers to carefully remove the return springs from both shoes. Then remove the anchor pins and retaining hardware. Note the position and orientation of all hardware before removal — take photographs if needed for reference during reassembly.
- Remove old brake shoes: With springs and anchor pins removed, the old shoes can be lifted away from the brake spider. Clean the spider, anchor pin bores, and cam head thoroughly with brake cleaner. Inspect the S-cam for wear on the lobes and replace if worn beyond specification.
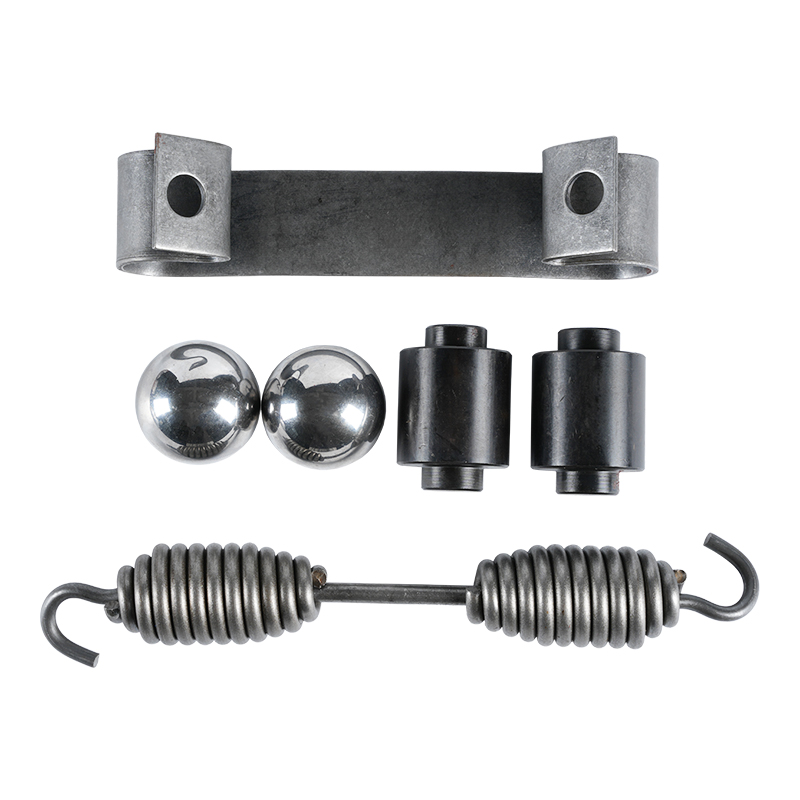
- Install new brake shoes: Place the correct primary shoe in the correct position relative to cam rotation direction. Install anchor pins and new retaining hardware. Do not reuse old anchor pins or springs — these are wear items and should always be replaced with new brake shoes as a complete kit.
- Install return springs: Using brake spring pliers, install new return springs in their correct positions. Springs that are over-stretched or fatigued will not retract the shoes properly after brake release, causing constant drag that overheats drums and accelerates lining wear dramatically.
- Reinstall drum and adjust brakes: Install the drum and wheel, then adjust the slack adjuster to achieve the correct push rod travel — typically 1.5" to 2" for standard brake chambers. Verify that the automatic slack adjuster is functioning correctly by checking push rod travel before and after several full brake applications.
Brake Shoe Adjustment: Manual vs. Automatic Slack Adjusters
Proper brake adjustment is just as important as brake shoe condition. An out-of-adjustment brake — even with new shoes — can fail to meet FMCSA stroke limits and result in an out-of-service violation or, worse, a braking emergency. Since 1994, all new trucks and trailers sold in the United States must be equipped with automatic slack adjusters (ASAs), which are designed to maintain correct brake adjustment automatically as linings wear. However, automatic slack adjusters do not eliminate the need for brake inspection — they can and do fail, wear out, or fall out of adjustment if not maintained.
The correct push rod stroke for most standard brake chambers at 90 psi application pressure should not exceed the following maximums set by FMCSA:
| Chamber Type | Maximum Stroke (Inches) | Common Application |
| Type 6 | 1.25" | Light-duty, smaller axles |
| Type 12 | 1.25" | Steer axles, medium duty |
| Type 16 | 1.75" | Drive and trailer axles |
| Type 20 | 1.75" | Heavy-duty drive axles |
| Type 24 | 2.00" | Standard tandem drive axles |
| Type 30 | 2.00" | Heavy tandem drives, trailers |
If an automatic slack adjuster is consistently out of adjustment despite being reset, the ASA itself should be replaced — attempting to manually adjust an ASA repeatedly without addressing the root cause is a temporary fix that will not hold and may give a false sense of compliance during inspections.
Choosing the Right Brake Shoe Brand and Specification for Your Fleet
The commercial vehicle brake shoe market includes OEM (Original Equipment Manufacturer) parts, premium aftermarket brands, and economy-tier replacement options. Understanding the differences helps fleet managers balance cost, performance, and compliance without cutting corners on safety.
OEM vs. Aftermarket Brake Shoes
OEM brake shoes — supplied by manufacturers like Meritor, Bendix, Haldex, and Gunite — are engineered to match the specific performance characteristics of the braking system they were designed for. They carry FMCSA-compliant friction ratings and typically come with warranty support. Premium aftermarket brands like Abex, Motor Wheel, and Stemco offer comparable performance at lower cost with broad application coverage. Economy-grade brake shoes, often imported without proper friction ratings or material certifications, represent a false economy — reduced lining life, inconsistent friction performance, and potential compliance failures make them a poor choice for any commercial fleet operating under DOT regulation.
Remanufactured Brake Shoes
Remanufactured brake shoes use reclaimed steel shoe tables that are cleaned, inspected, and re-lined with fresh friction material. Quality remanufactured shoes from reputable suppliers meet or exceed FMCSA specifications and can offer significant cost savings — sometimes 30–50% less than new equivalent shoes — without compromising safety or compliance. The key is sourcing from a supplier who performs proper non-destructive testing on shoe webs for cracks and fatigue, uses certified friction materials, and provides proper Edge Code documentation. Remanufactured brake shoes are a common choice for high-volume fleet operators with strong maintenance programs and trailer-heavy operations.
Preventive Maintenance Schedule for Truck and Trailer Brake Shoes
A structured preventive maintenance schedule is the most cost-effective way to manage brake shoe life across a fleet. Reactive brake replacement — waiting for components to fail or for DOT violations to force action — is always more expensive than planned replacement driven by inspection data. The following schedule reflects best practices for mixed long-haul and regional operations:
- Every 25,000 miles or quarterly (whichever comes first): Visual inspection of brake lining thickness at accessible points, check push rod stroke on all axles, inspect slack adjuster condition and operation, check for brake drag or uneven application, inspect for fluid leaks near wheel seals.
- Every 50,000 miles or semi-annually: Pull drums for full brake inspection including lining thickness measurement at all points, drum diameter check, cam bearing inspection and lubrication, anchor pin inspection, and return spring condition check. Replace any shoes at or approaching minimum thickness.
- Every 100,000 miles or annually: Complete brake overhaul including shoe replacement, drum resurfacing or replacement, cam replacement if worn, full slack adjuster inspection, and brake chamber inspection. This interval aligns with DOT annual inspection requirements and ensures brake system integrity is formally documented.
- After any hard stop or emergency braking event: Inspect all brake shoes and drums immediately. Emergency stops generate extreme heat that can glaze linings, cause drum heat cracking, or thermally damage automatic slack adjusters. Do not return the vehicle to service without verifying brake condition after a significant panic stop.
Common Mistakes to Avoid When Working on Heavy-Duty Brake Shoes
Even experienced mechanics make avoidable errors when servicing commercial vehicle brake shoes. These mistakes range from minor inconveniences to serious safety hazards:
- Mixing shoe positions: Installing the secondary shoe in the primary position (or vice versa) is a common and dangerous mistake. Primary and secondary shoes in S-cam systems have different lining profiles and thickness to account for their different wear rates. Mismatched shoes cause uneven braking and accelerated wear.
- Reusing old return springs: Springs fatigue over time and lose tension. Reusing old return springs with new brake shoes means the shoes may not fully retract after brake release, causing constant drag that overheats drums and accelerates lining wear dramatically.
- Skipping drum inspection or machining: Installing new brake shoes on a scored, out-of-round, or heat-cracked drum is wasteful and dangerous. The new lining will wear unevenly and braking performance will be compromised from day one. Always inspect and machine or replace the drum when changing brake shoes.
- Not verifying push rod stroke after installation: New brake shoes change the geometry of the system. Always verify push rod stroke with a full brake application after installation and confirm the automatic slack adjuster has properly adjusted to the new lining thickness before returning the vehicle to service.
- Using grease incorrectly on cam heads or anchor pins: Cam bushings and anchor pins require lubrication, but grease must be kept away from the lining contact surfaces. Grease contamination of brake linings is a leading cause of brake failure and always requires complete brake shoe replacement — there is no safe way to clean a grease-contaminated lining.
- Neglecting trailer brakes: Many fleet operators focus maintenance resources on power units and overlook trailer brake shoe condition. Trailers represent the majority of stopping power in a fully loaded combination vehicle and are subject to the same FMCSA inspection standards. Neglected trailer brakes are a leading cause of out-of-service violations and jackknife accidents.

 Home
Home +86-158-6900-2386 / +86-0571-61075636
 zjlrqp@163.com
 No. 518, Nanhu Road, Tianzihu Town, Anji County, Zhejiang Province, China
Copyright © Zhejiang Langrun Auto Parts Co., Ltd. All rights reserved. Heavy-Duty Brake Shoe Manufacturer in China

